If you are a developer or website owner, you may have heard of Supervisor, a new feature in the Web Hosting Control Panel.
Programming can be time-consuming and require a lot of effort. However, if web hosting account owners had tools that made it easier to complete basic site management tasks, it might be easier for them to manage their websites.
The Advanced section of the Web Hosting Control Panel includes features that make it easy to set up cron jobs, filter outgoing connections, create Memcached/Varnish instances, choose a PHP version, etc.
The new Supervisor functionality takes this a step further by allowing website owners to run scripts in the background.
What is the purpose or goal of the Supervisor feature?
Supervisor is a tool that allows website owners to run long-running scripts or programs in the background of their web hosting environment. In the past, background scripts were generally prohibited on most web hosting platforms due to the risk of hackers using them to compromise website owners. However, there are also legitimate uses for background scripts, such as running live content projects and so the Supervisor was created as a controlled environment for website owners to run these scripts safely.
With Supervisor, website owners can run background scripts and programs in a way that guarantees the security of their web hosting account. This is done through the Supervisor section of the Control Panel, where users can manage and monitor their background processes.
In addition to process management, Supervisor also offers a range of other dev-friendly functionality. For example, it includes a debugging tool that allows developers to trace and debug their applications in real-time. It also includes a performance analysis tool that helps developers identify and optimize performance bottlenecks.
How to use the Supervisor?
To use the Supervisor, follow these steps:
- To use the Supervisor and start a background process in your web hosting account, you need to create an instance. To do this, go to the Supervisor section and click on the “Create instance” button.
When you create a Supervisor instance, a TCP port will automatically be assigned to the background application.
Set up a chat server using the WebSocket protocol
To set up a chat server using the WebSocket protocol in your web hosting account:
- Download the chat server software from the web. In this example, we will use a chat server from the website sanwebe.com.
2. Set up a host in the Hosted Domains section of your Control Panel where you can upload the chat server.
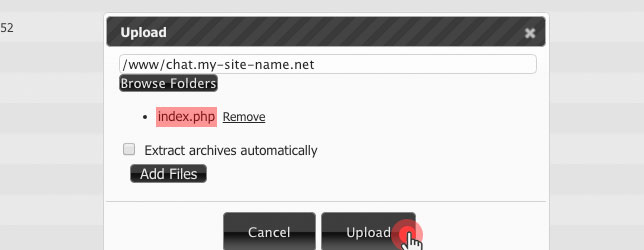
3. Use the File Manager to upload the index.php file from the chat server folder to the host’s main folder.
4. Create a folder for the chat server file in the main /home/www/ directory. For example, /home/www/server/.
5. Make sure the chat server file has executable permissions, such as 700 or 755.
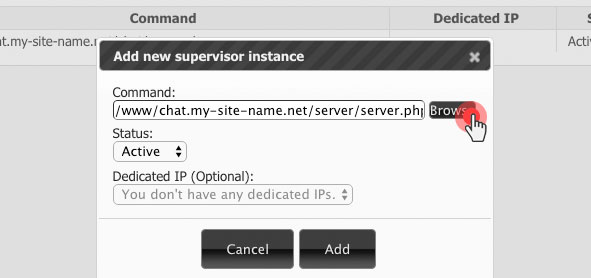
6. Go to the Supervisor section of the Control Panel and create an instance for the background-running chat server.
7. In the command field, browse to the server path and click the Add button.
8. After the instance is created

Copy the generated TCP port and paste it into the server.php file using the text editor in the File Manager section.
9. Open the index.php file and replace the default hostname with your hostname, as well as enter the new port.
- To protect the server.php file from public access, you can set access rules using the .htaccess file.
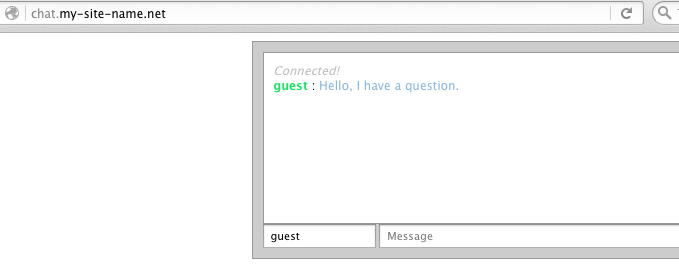
That’s it! Your chat server should now be running in the background on your web hosting account.
Keep in mind that it is important to use the Supervisor responsibly, as running too many tasks or tasks that consume too many resources can impact the performance of your server.
We hope this helps you get started with the Supervisor. Happy scripting!


